Last updated: 22 April 2026 | Change log
Go to the Worldpay Payments Cartridge for B2C Commerce page on Salesforce AppExchange.
Click "Get It Now" to be redirected to our public GitHub repository. Download the Worldpay Payments cartridge source code zip file.
Make sure the "app_storefront_base" and Worldpay Payments cartridge folders appear under the same folder.
Open jobs.xml in the source code zip file. The relative path will be similar to "salesforce-commerce-cloud-master/metadata/jobs.xml".
Replace the
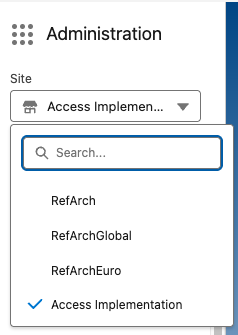
context site-idvalue in jobs.xml with your storefront name, written without spaces (e.g.AccessImplementation). You can find this on your Business Manager home page.
Need help installing? Click here for more guidance
Use node version 14 or higher.
Run
npm install.Run
npm run compile:jsand thennpm run compile:scss.Using the same folder you have saved all the cartridge folders in, create a dw.json file and add the following:
{

               "hostname" : "your-sandbox-hostname.demandware.net",

               "username" : "your username to log in to SFCC",

               "password" : "your password to log in to SFCC",

               "code-version" : "the code version to upload to",

}- Upload the code to your environments (for example, using the Prophet Debugger extension for VS Code).
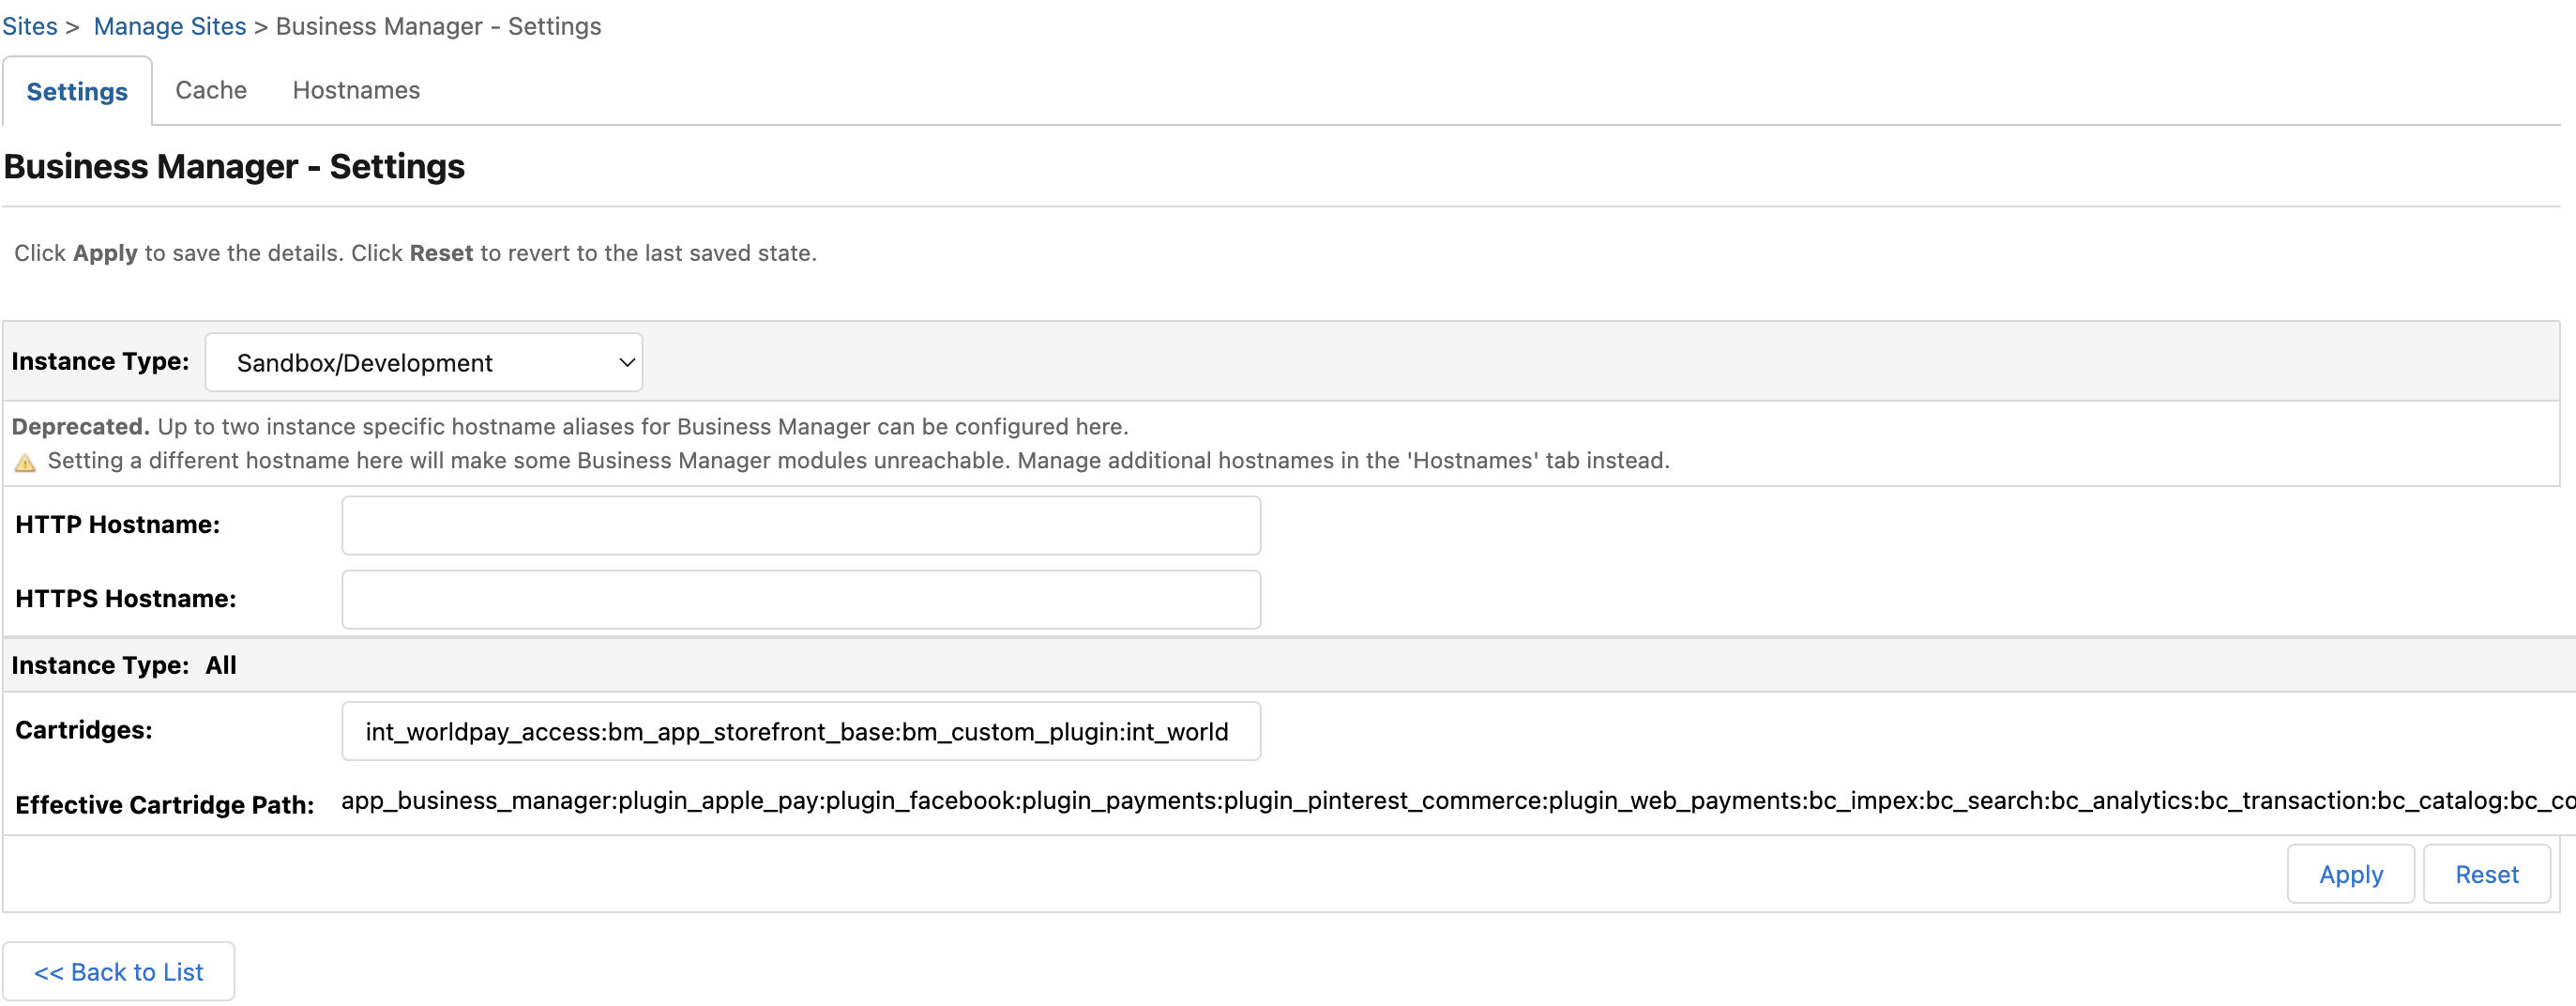
Log into the Salesforce Business Manager interface and go to Administration → Sites → Manage Sites. Click on "Business Manager", then include
int_worldpay_accessin the cartridge list.Make sure
int_worldpay_accessis in front ofbm_app_storefront_basein the cartridge path of your site (e.g.int_worldpay_access:bm_app_storefront_base).
Include
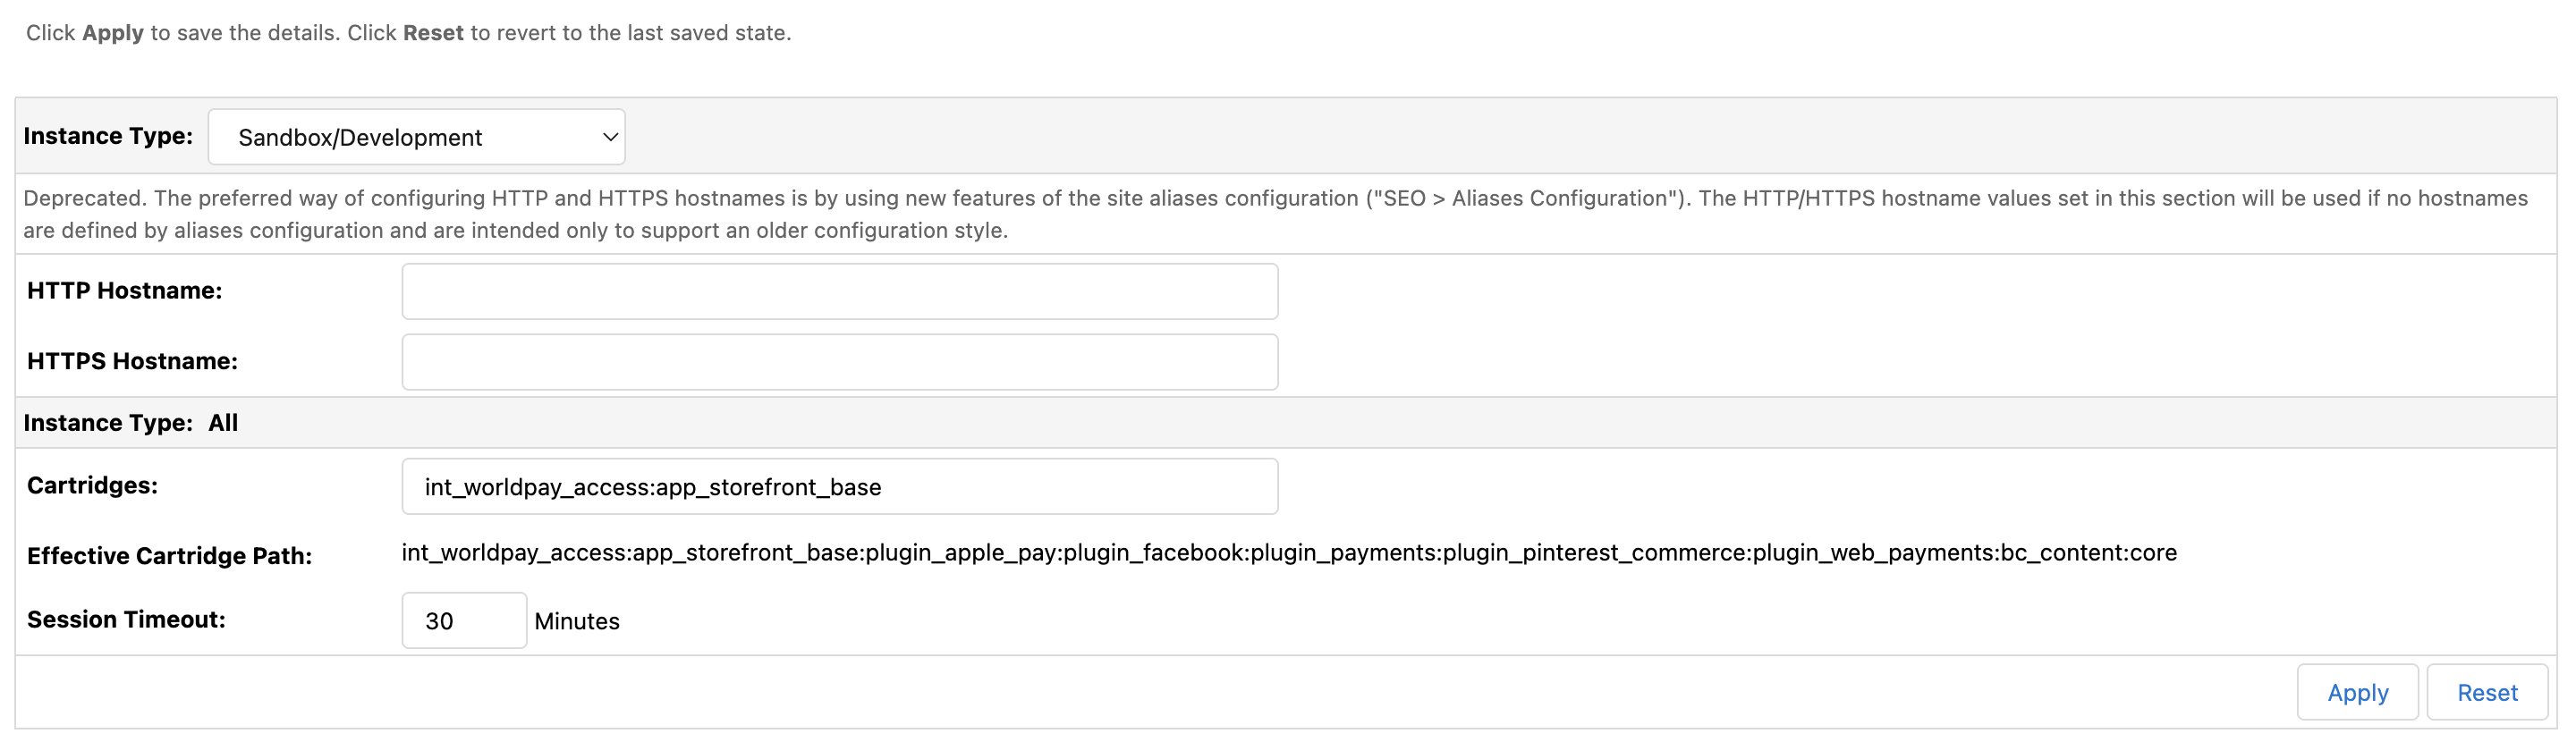
int_worldpay_accessin the cartridge list for your storefront by going to Administration → Sites → Manage Sites. Click on your storefront site and the "Settings" tab.Ensure
int_worldpay_accessis in front ofapp_storefront_basein the cartridge path of your site (e.g.int_worldpay_access:app_storefront_base).
Go to Administration → Site Development → Site Import & Export and import the metadata folder as a zip file.
Click on the App Launcher icon in the top left corner and select "Merchant Tools".
Navigate to Merchant Tools → Site Preferences → Site Custom Preferences and click on "AWP-Core" in the "ID" column.
- Enter the merchant entity that your Worldpay Implementation Manager has given you. The merchant entity used for transactions is the same for Try and Live.

You can choose to use two integrations for our Plugin, using our Hosted Payment Pages (HPP) API as well as our Checkout SDK.
Make sure your Worldpay Implementation Manager gives you your Checkout ID to be able to integrate to our Checkout SDK.
The steps above integrate using our HPP API. To integrate to our Checkout SDK alongside this, follow the additional steps below:
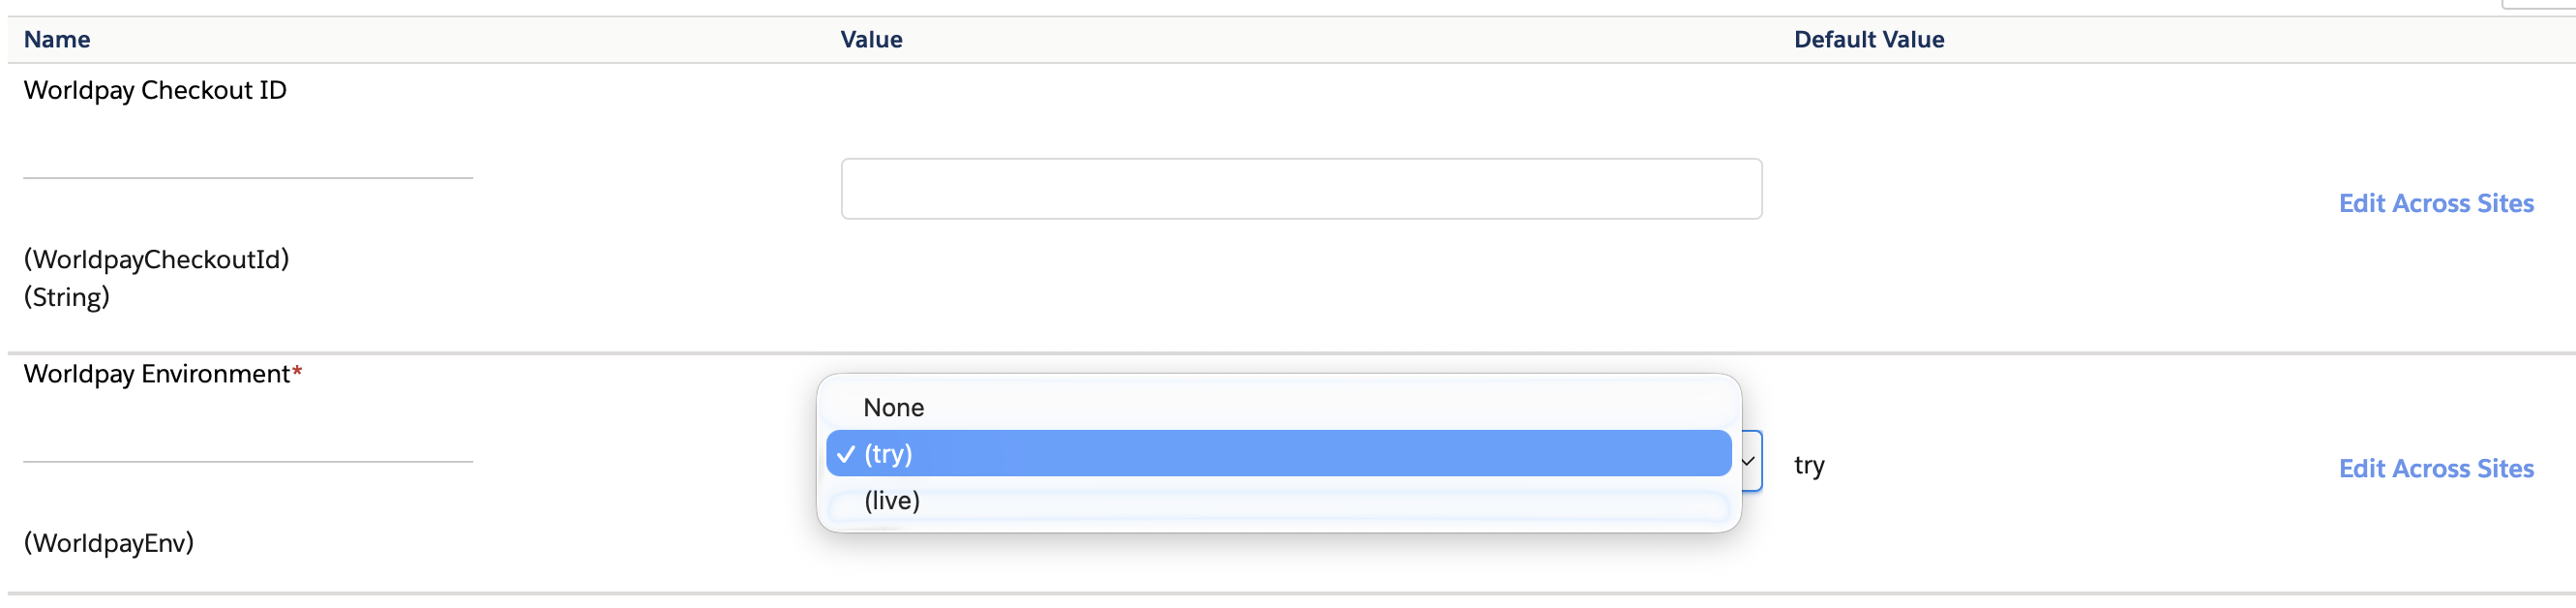
- Enter the Checkout ID provided by your Worldpay Implementation Manager in the "Worldpay Checkout ID" field.
- Set the "Worldpay Environment" to "try" for testing or "live" for production.
The two integrations for our Plugin offer the supported payment methods and features below.
| Hosted Payment Pages API | Checkout SDK | |
| Visa |  | |
| Mastercard | | |
| Amex | | |
| Google Pay | |  |
| Apple Pay | | |
| Guest card and repeat payments (Customer Initiated Transactions - CITs) | | |
| Subscriptions and recurring orders (Merchant Initiated Transactions - MITs) | | |
A successful import of the metadata makes the below custom preferences available:

- Verify that you have imported "Worldpay" as a Payment Processor by going to Merchant Tools → Ordering → Payment Processors.
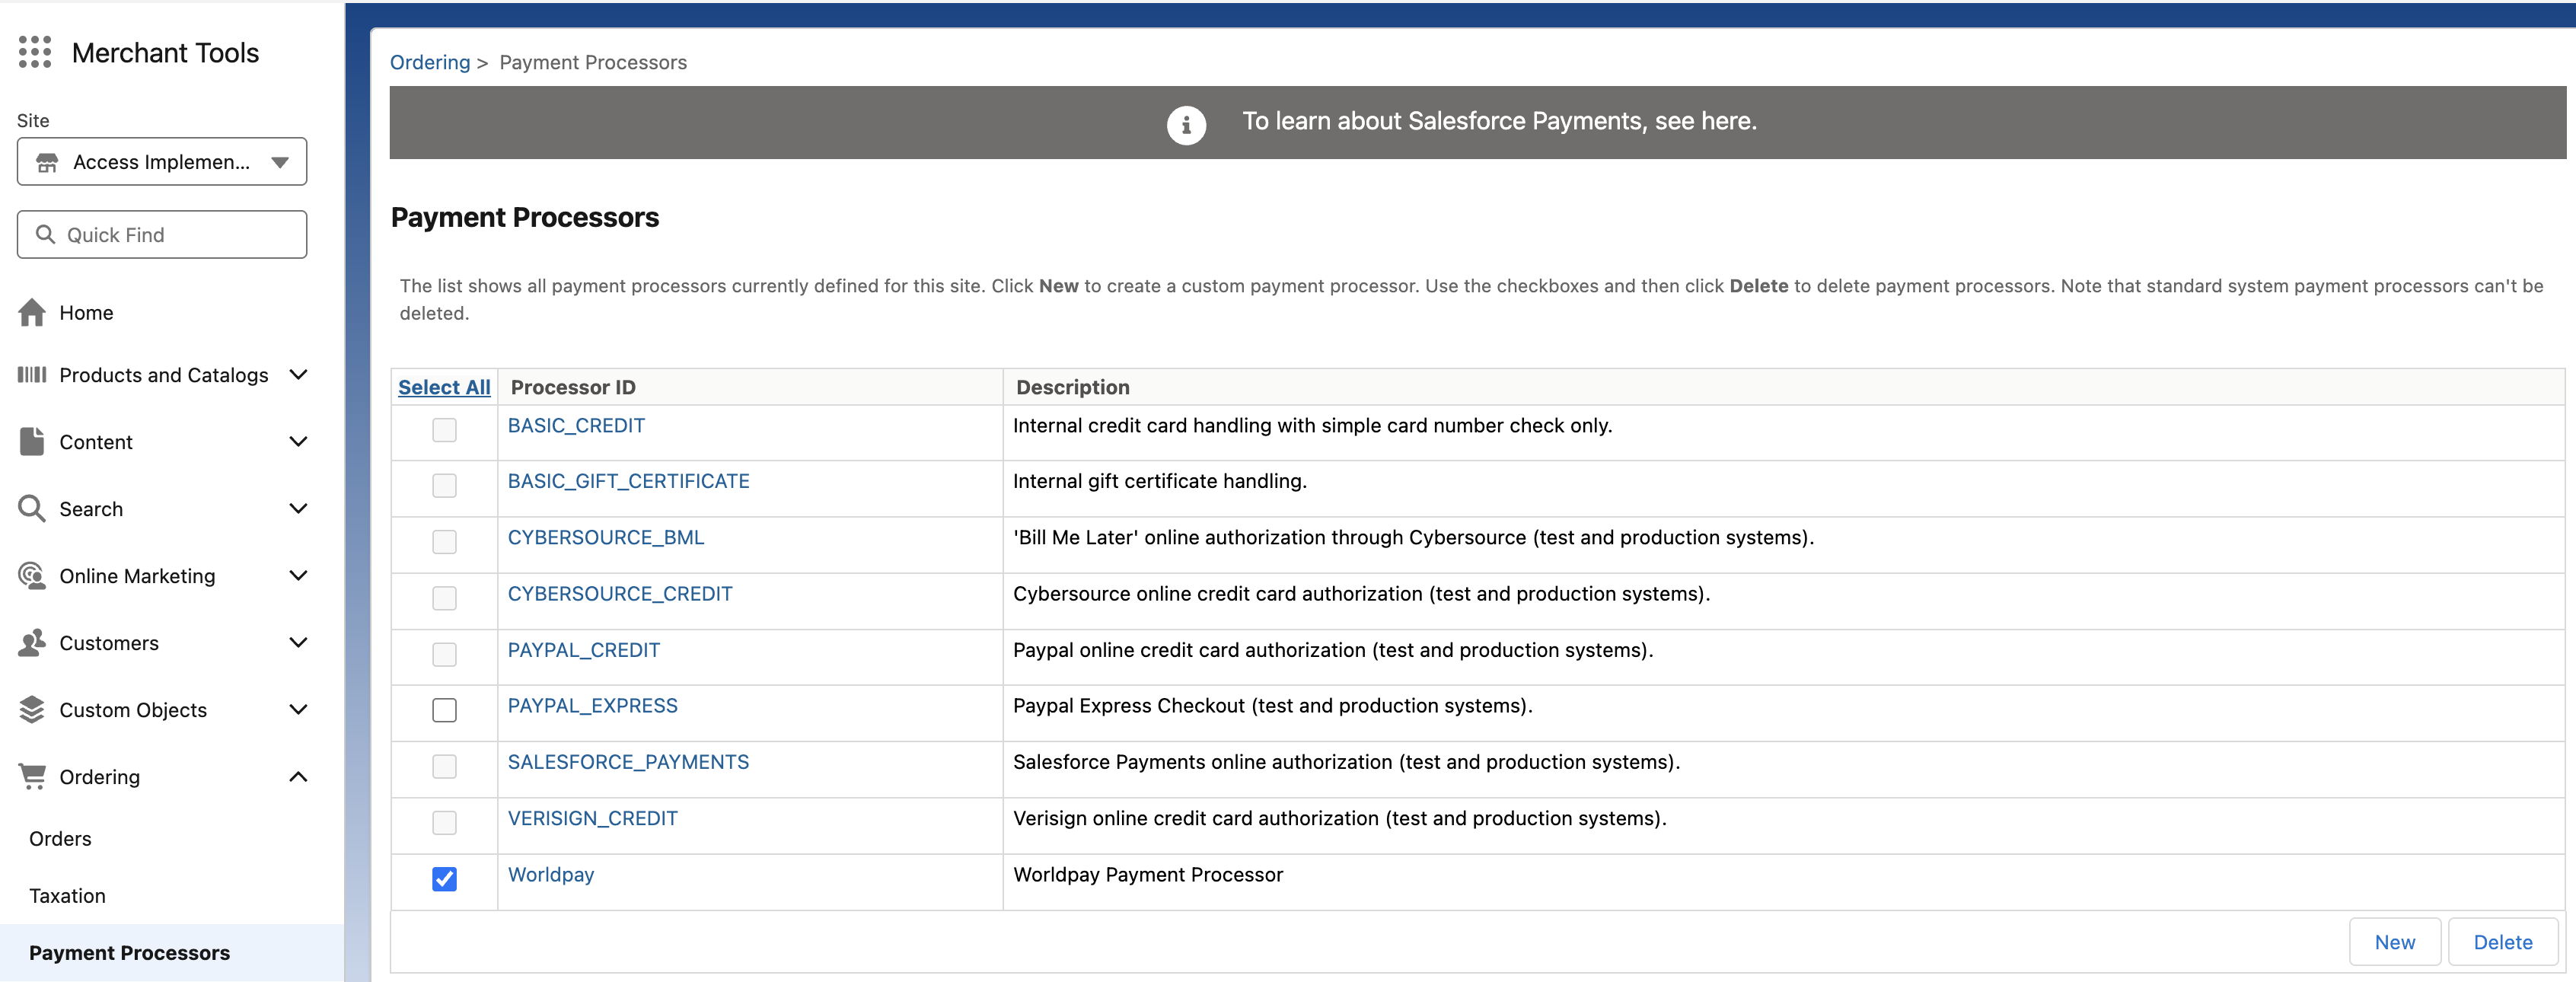
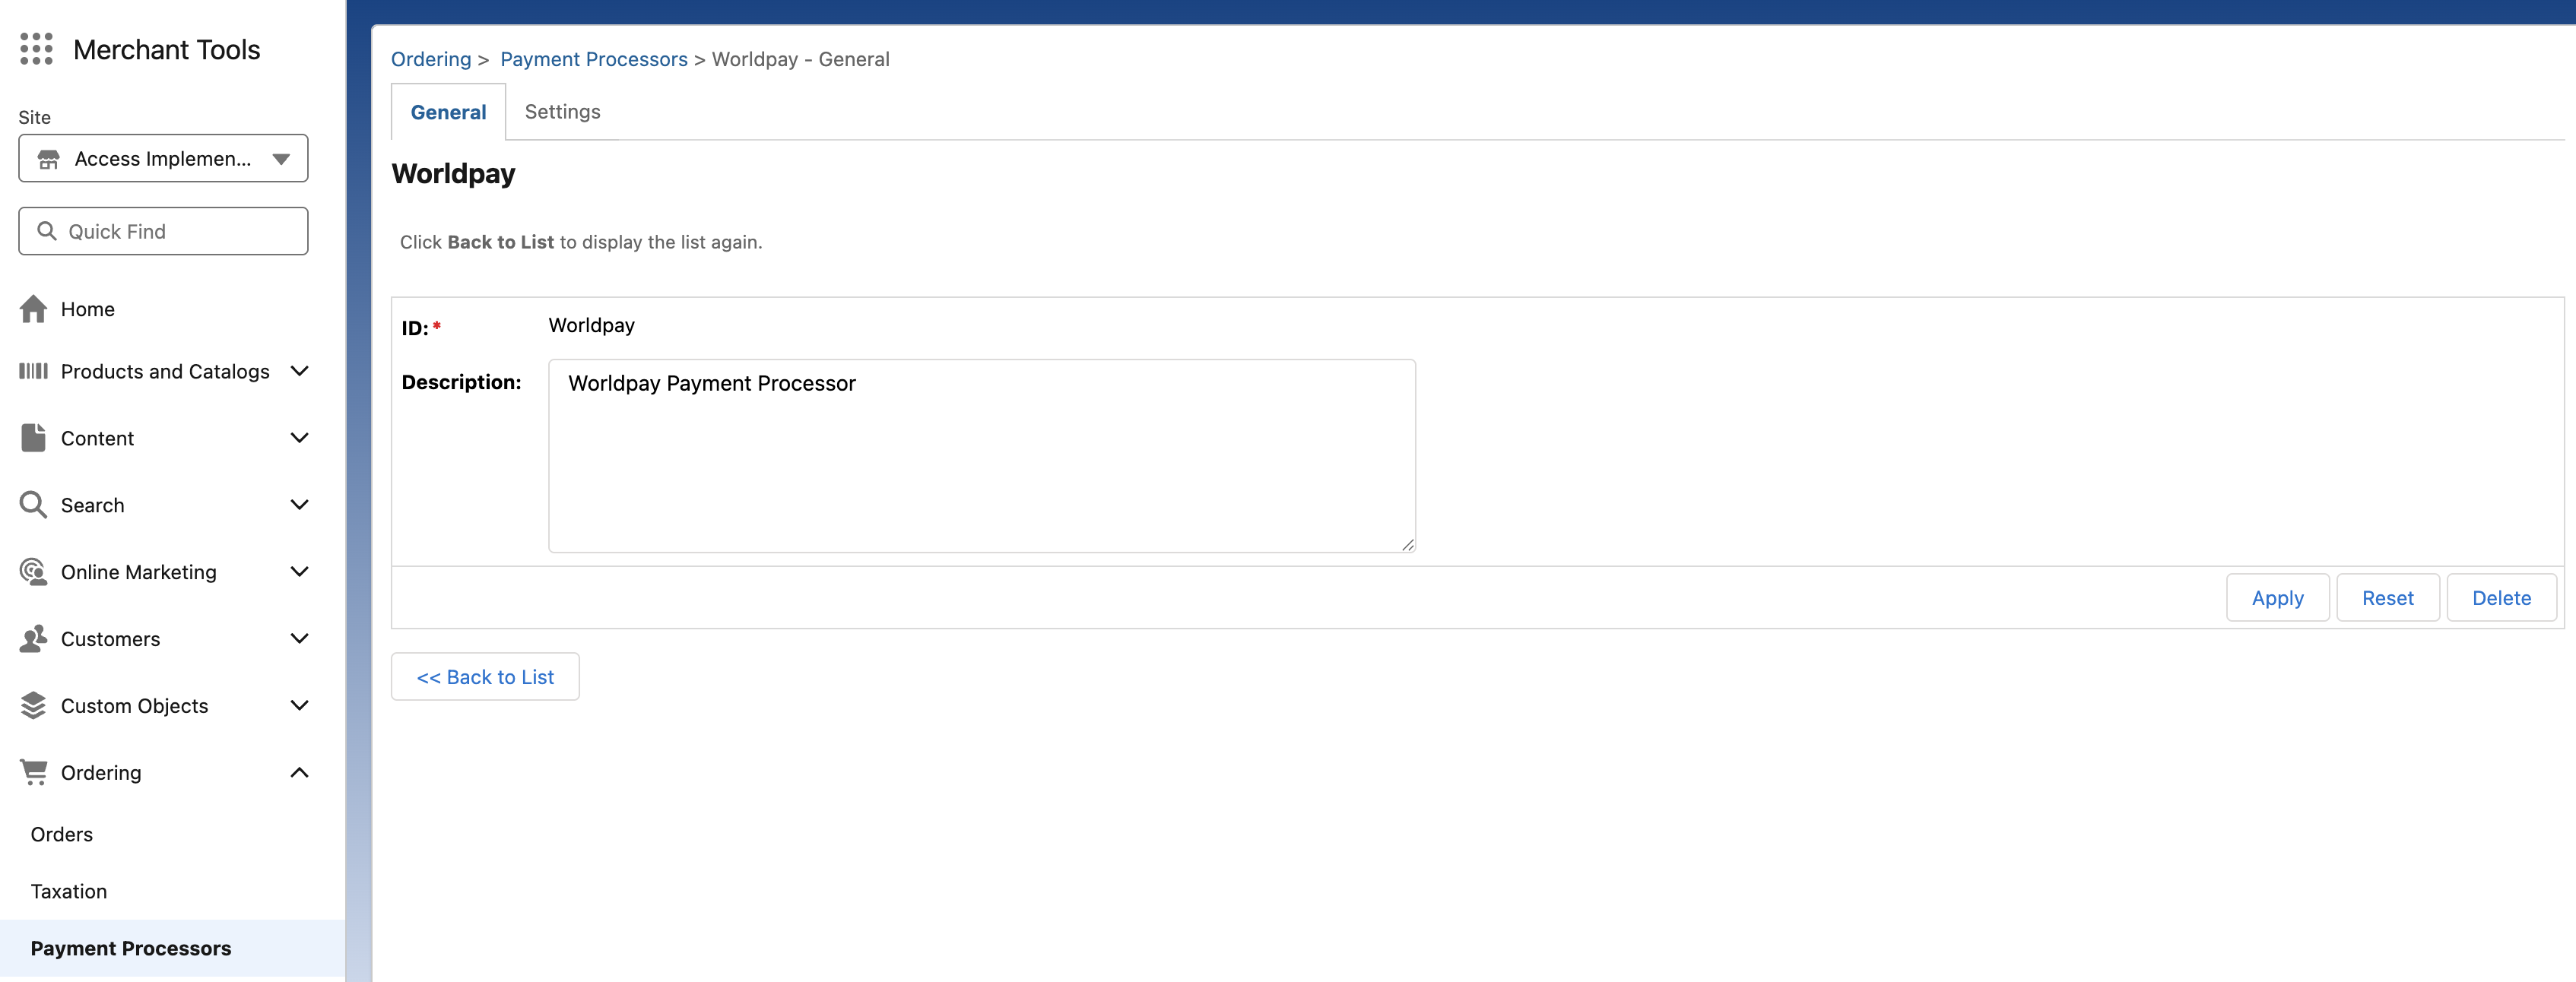
- Verify that you have imported "Worldpay" as an available payment method by going to Merchant Tools → Ordering → Payment Methods.
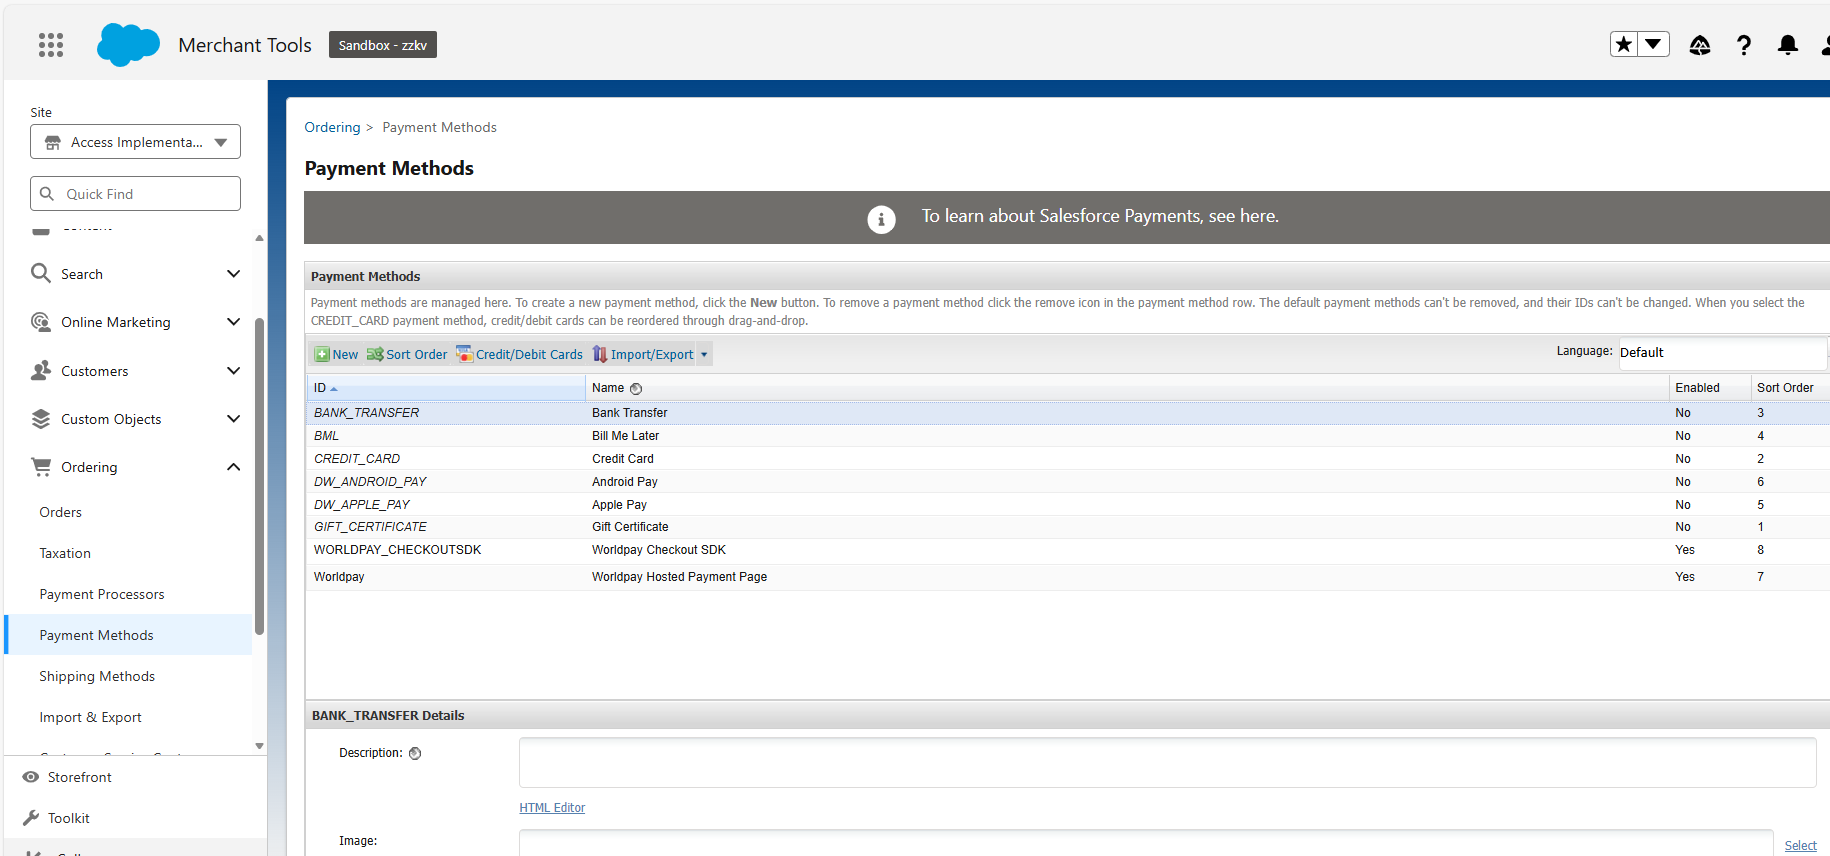
You can enable 3DS authentication functionality to verify your customer's identity and meet the Strong Customer Authentication (SCA) requirements under the PSD2 regulation. Learn more about when SCA applies.
Go to Merchant Tools → Site Preferences → Site Custom Preferences and click on "AWP-Core".
Select "Yes" for the "Enable ThreeDs" field.

You can allow your customer to make subscription purchases by enabling recurring tokenization within the Salesforce Business Manager interface.
Go to Merchant Tools → Site Preferences → Site Custom Preferences and click on "AWP-Core".
Select "Yes" for the "allow Recurring Tokenization" field.

Next steps
Optional configuration for your Plugin
Test and go live
Manage your orders
View your customer's journey